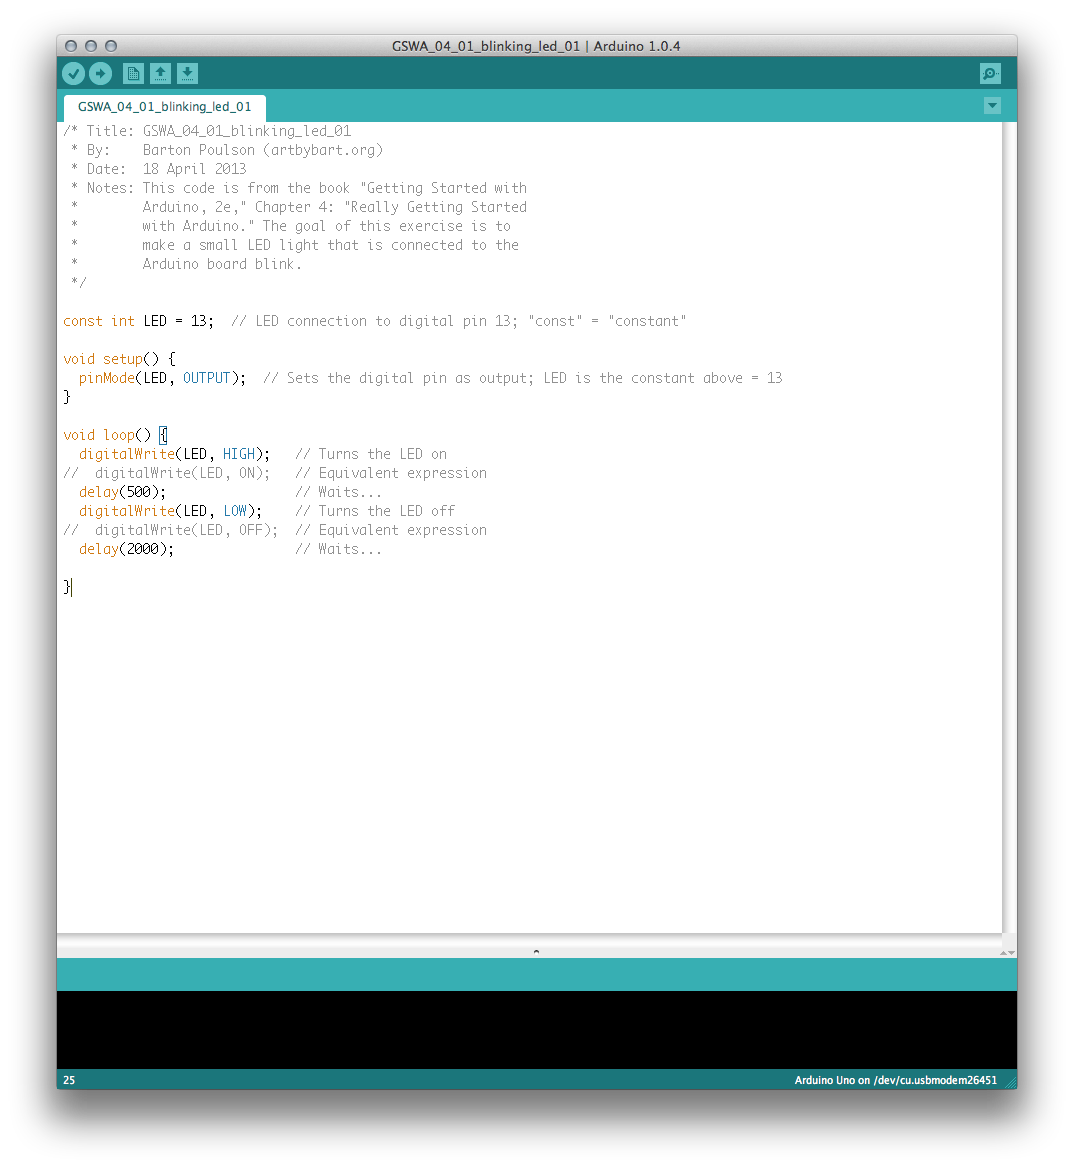

- Hook up an LED to the Arduino
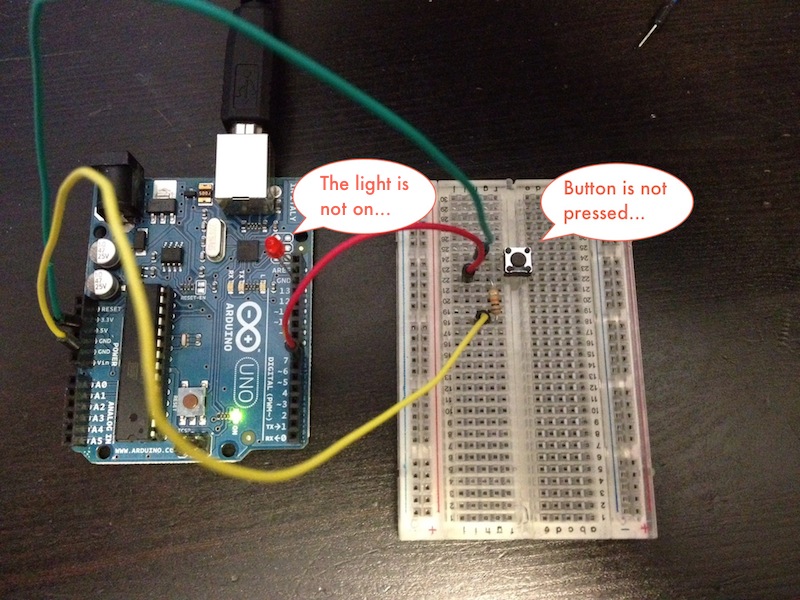
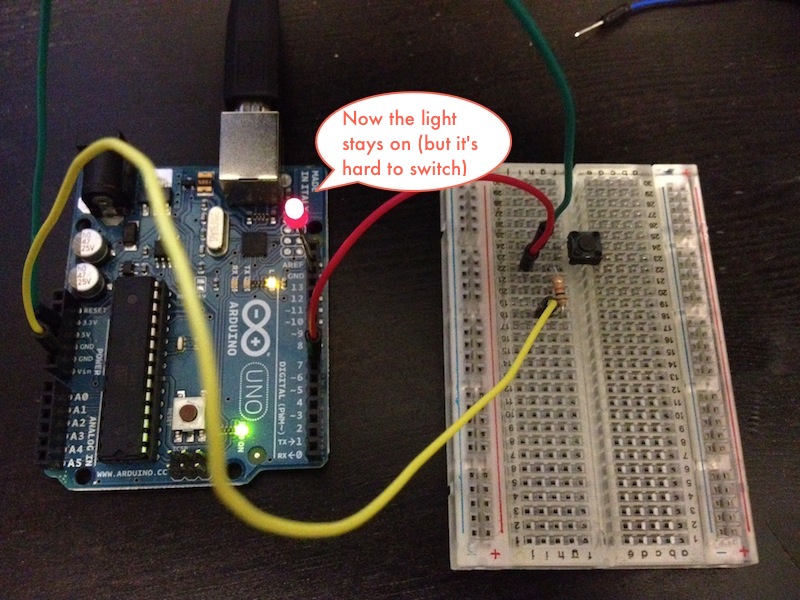
- Put a pushbutton on the breadboard
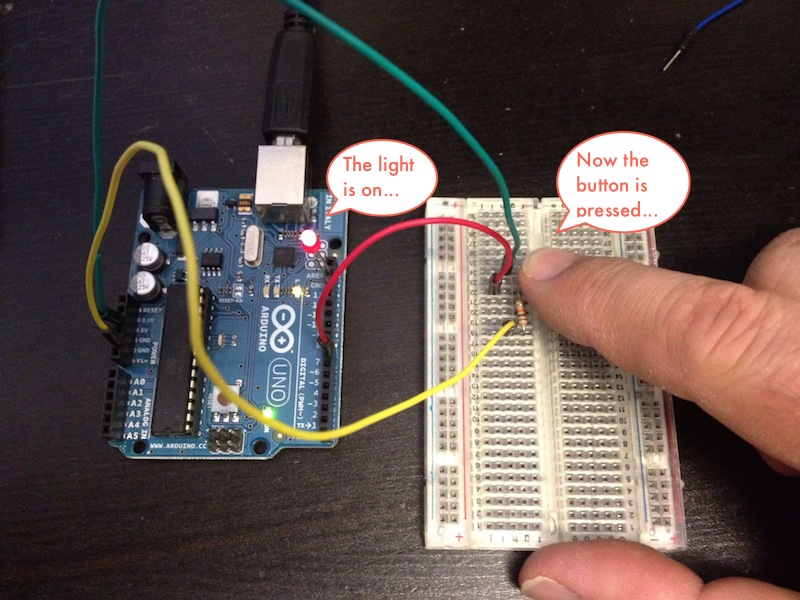
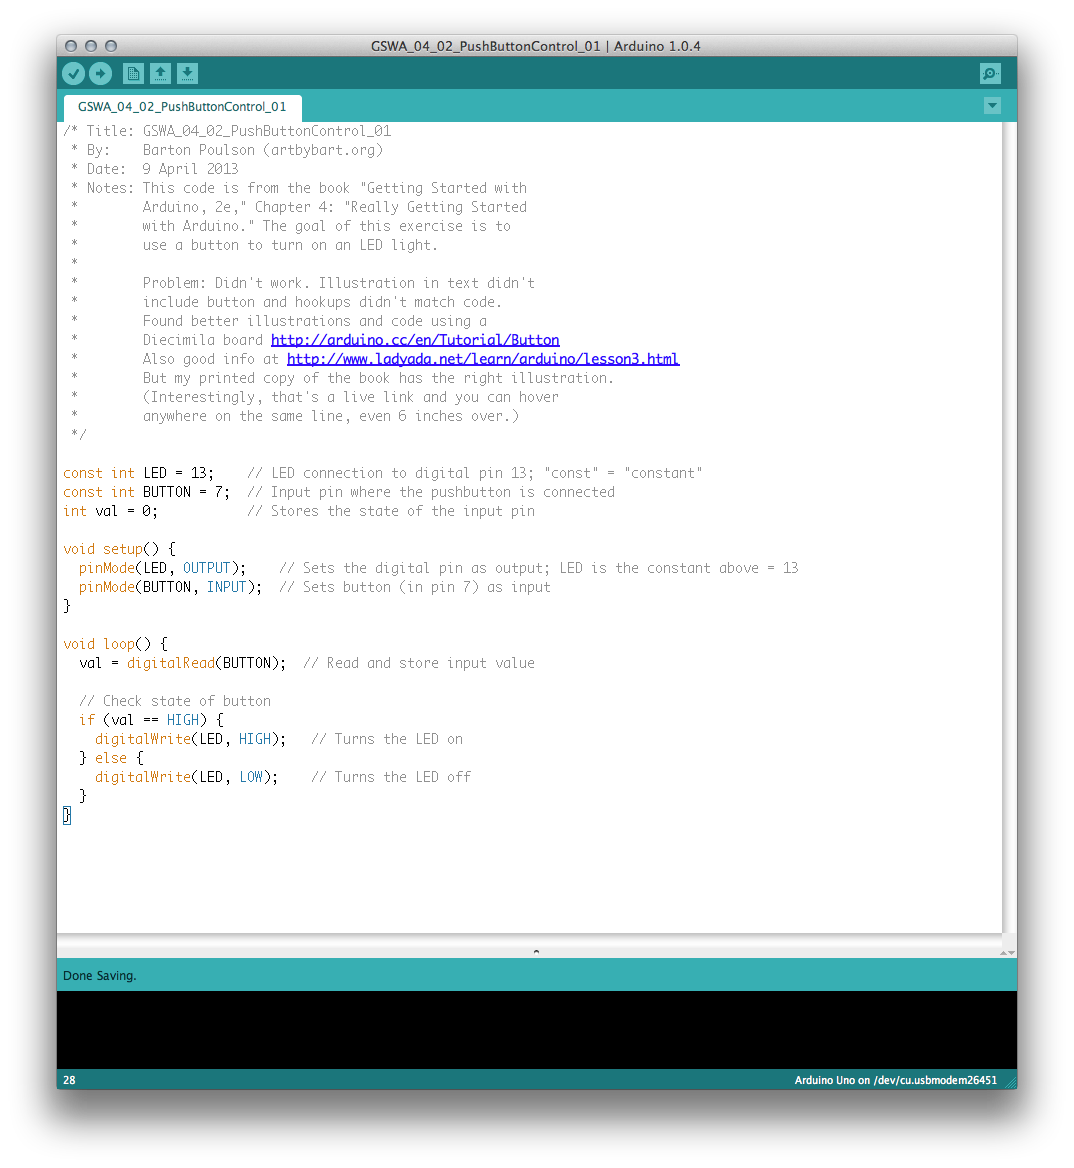
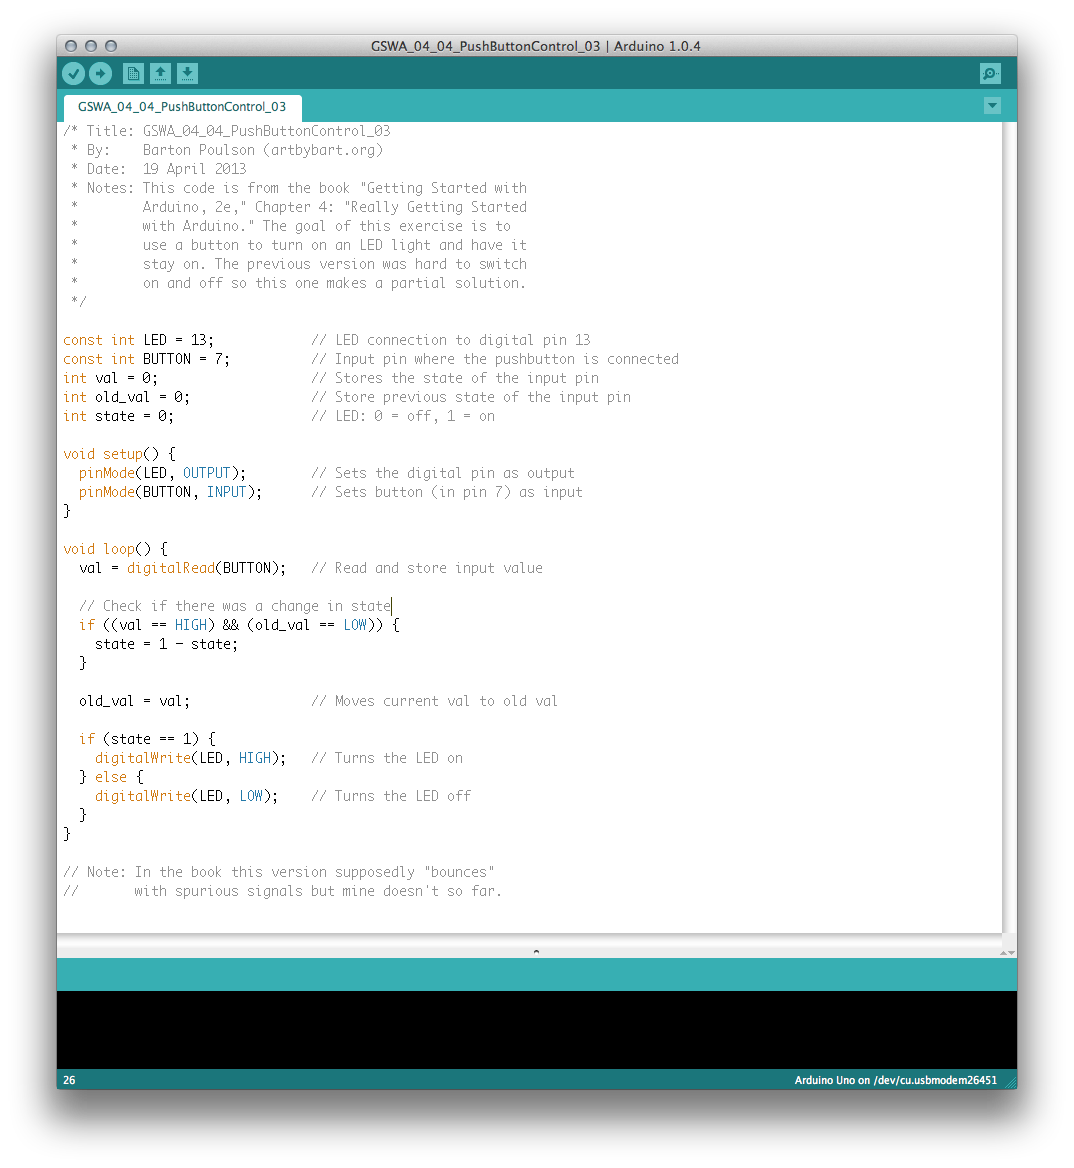
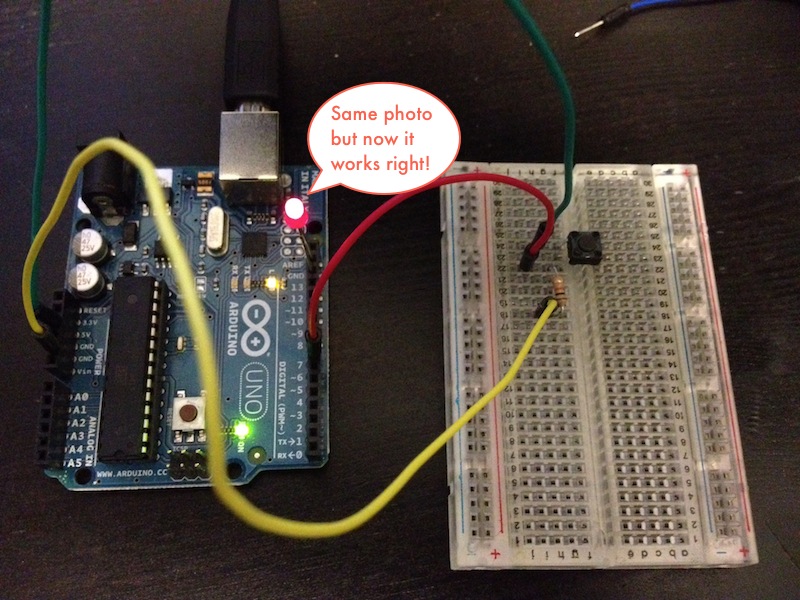
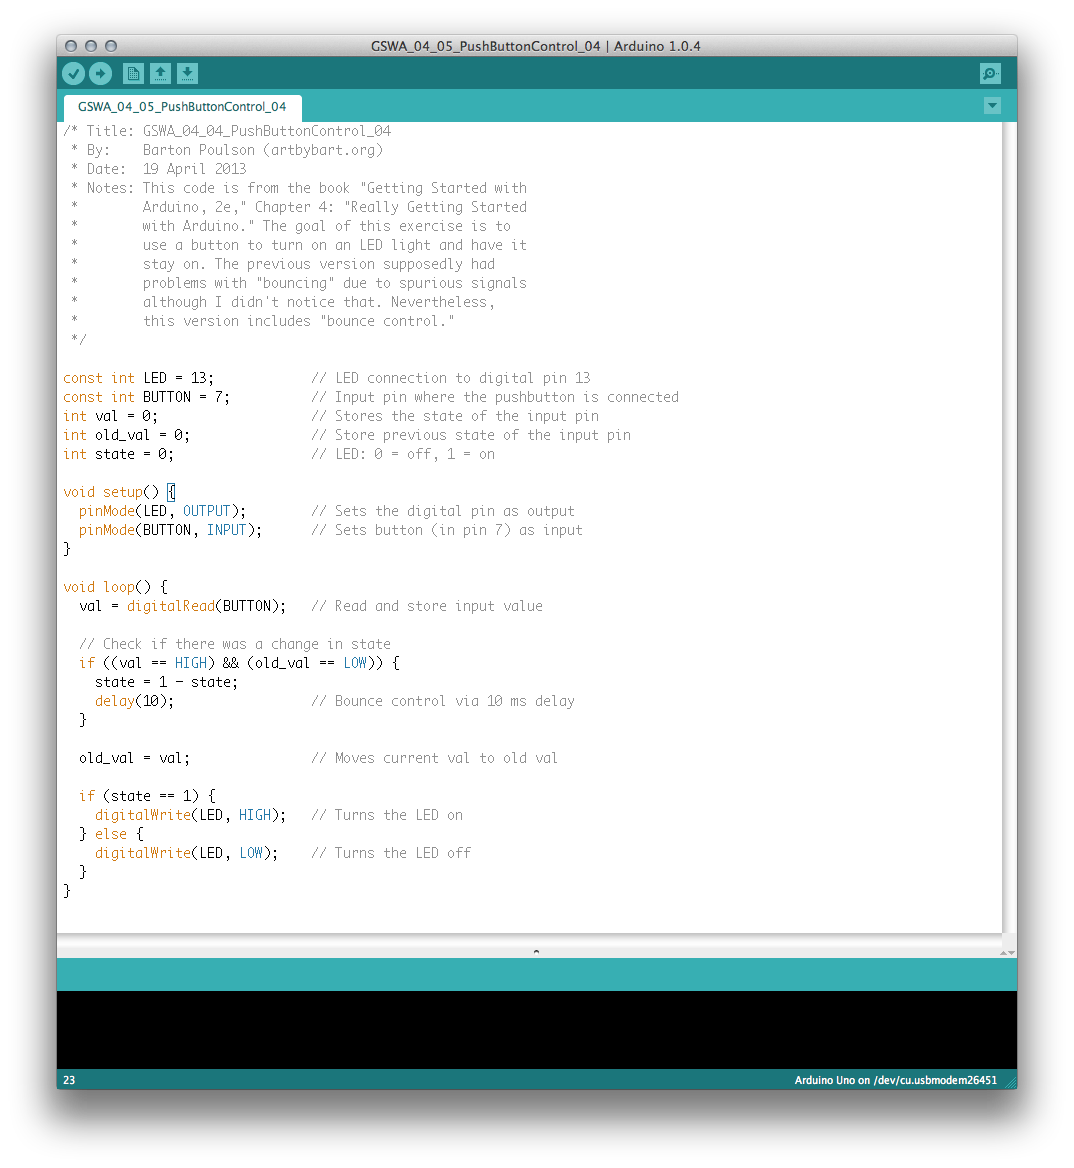
- Connect the wires and write the code so the pushbutton can turn on the LED, first as a momentary switch (i.e., the LED only lights up as long as you hold the button) and then as a toggle switch (i.e., click it once to have the LED turn on and stay on, then click it again to have it turn off and stay off)
Simple concept and an excellent introduction to the entire system. I'm much more accustomed to working with Processing and, while the two are very closely related, they're not identical and the differences are acutely obvious to me. Still, I'm trying to adapt. Some of the differences include:
- Explicitly declaring constants
- Setting pins as input or output (obviously, this doesn't happen in the software-only world of Processing)
- "digitalRead" and "digitalWrite" as functions (again, because this is hardware now)
- The use of "HIGH" and "LOW" as "ON" and "OFF" (I know the latter work but there is a strong institutional preference for the former)
On the other hand, much of the building and troubleshooting procedure is the same: go one tiny step at a time, when something goes wrong, take a closer look at how the machine is making sense of your code, and working through possible solutions one at a time, perhaps through commenting lines in and out. And save versions of your sketch!
So, the fact that I am now able to turn a small light on and off may not seem like much to most people, but it's a significant journey from the virtual to the physical world for me. Onward and upward!
Completed:
- Getting Started with Arduino, 2e, Ch. 4: Really Getting Started with Arduino (5 exercises)
- Sketches (i.e., code) can be downloaded from http://db.tt/f6x9Q4NA